Logo Design Basics: From Concept to Final
Learn the complete process of designing a professional logo from brainstorming to final delivery.
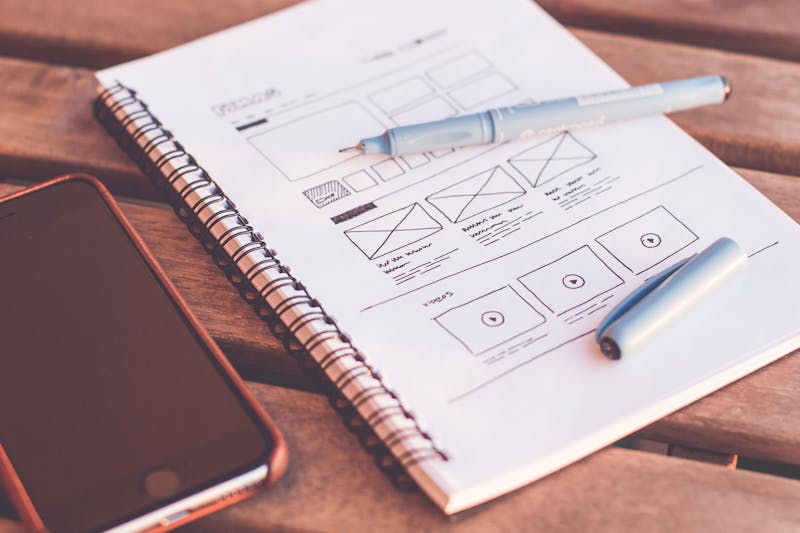
Before you begin
- Basic knowledge of design software
The walkthrough
Step by step.
Step 1 of 5
Research and Discovery
Understand the client/brand: values, target audience, competitors, industry. Create a mood board with inspiration. Study competitor logos. Define 3-5 keywords that describe the brand.
- Ask clients for brands they admire
- Collect visual inspiration but don't copy
Step 2 of 5
Sketching Concepts
Start with pen and paper. Sketch 20-30 rough ideas quickly without judging. Explore different approaches: wordmarks, lettermarks, symbols, combinations. Think about versatility and scalability.
- Quantity over quality in early stages
- Sketch small to ensure logos work at any size
Step 3 of 5
Digital Refinement
Choose top 3-5 sketches. Create vectors in Illustrator or Figma. Keep it simple - logos should work in one color. Test at various sizes (favicon to billboard). Ensure it works in black and white.
- Use basic shapes and clean lines
- Avoid trends - aim for timeless design
Step 4 of 5
Typography Selection
If using text, choose or create appropriate typography. Should complement the symbol. Consider readability at small sizes. Adjust letter spacing (kerning) carefully.
- Custom typography makes logos unique
- Avoid overused fonts like Comic Sans, Papyrus
Step 5 of 5
Presentation and Delivery
Show logos in context: business cards, websites, products. Present 2-3 strong options, not 10. Explain your thinking. Deliver in multiple formats: AI, EPS, PNG, SVG. Include color and black/white versions.
- Mock-ups help clients visualize
- Provide usage guidelines
Guide complete